essential oils

Dark Chocolate & Orange Coconut Macaroons

IMG_5621.JPG

As many of you may have guessed, my two loves are food and oils. And of COURSE, it seems about right that I'd combine them, all in due time. Actually, I've been pairing them for years, and only now decided to finally do something about it and write these recipes down. 

So, as a little treat for upcoming Valentine's, the only sensible thing to do is to make something decadent and ALL about chocolate. And you know what goes well with chocolate? Orange. 

IMG_5618.JPG

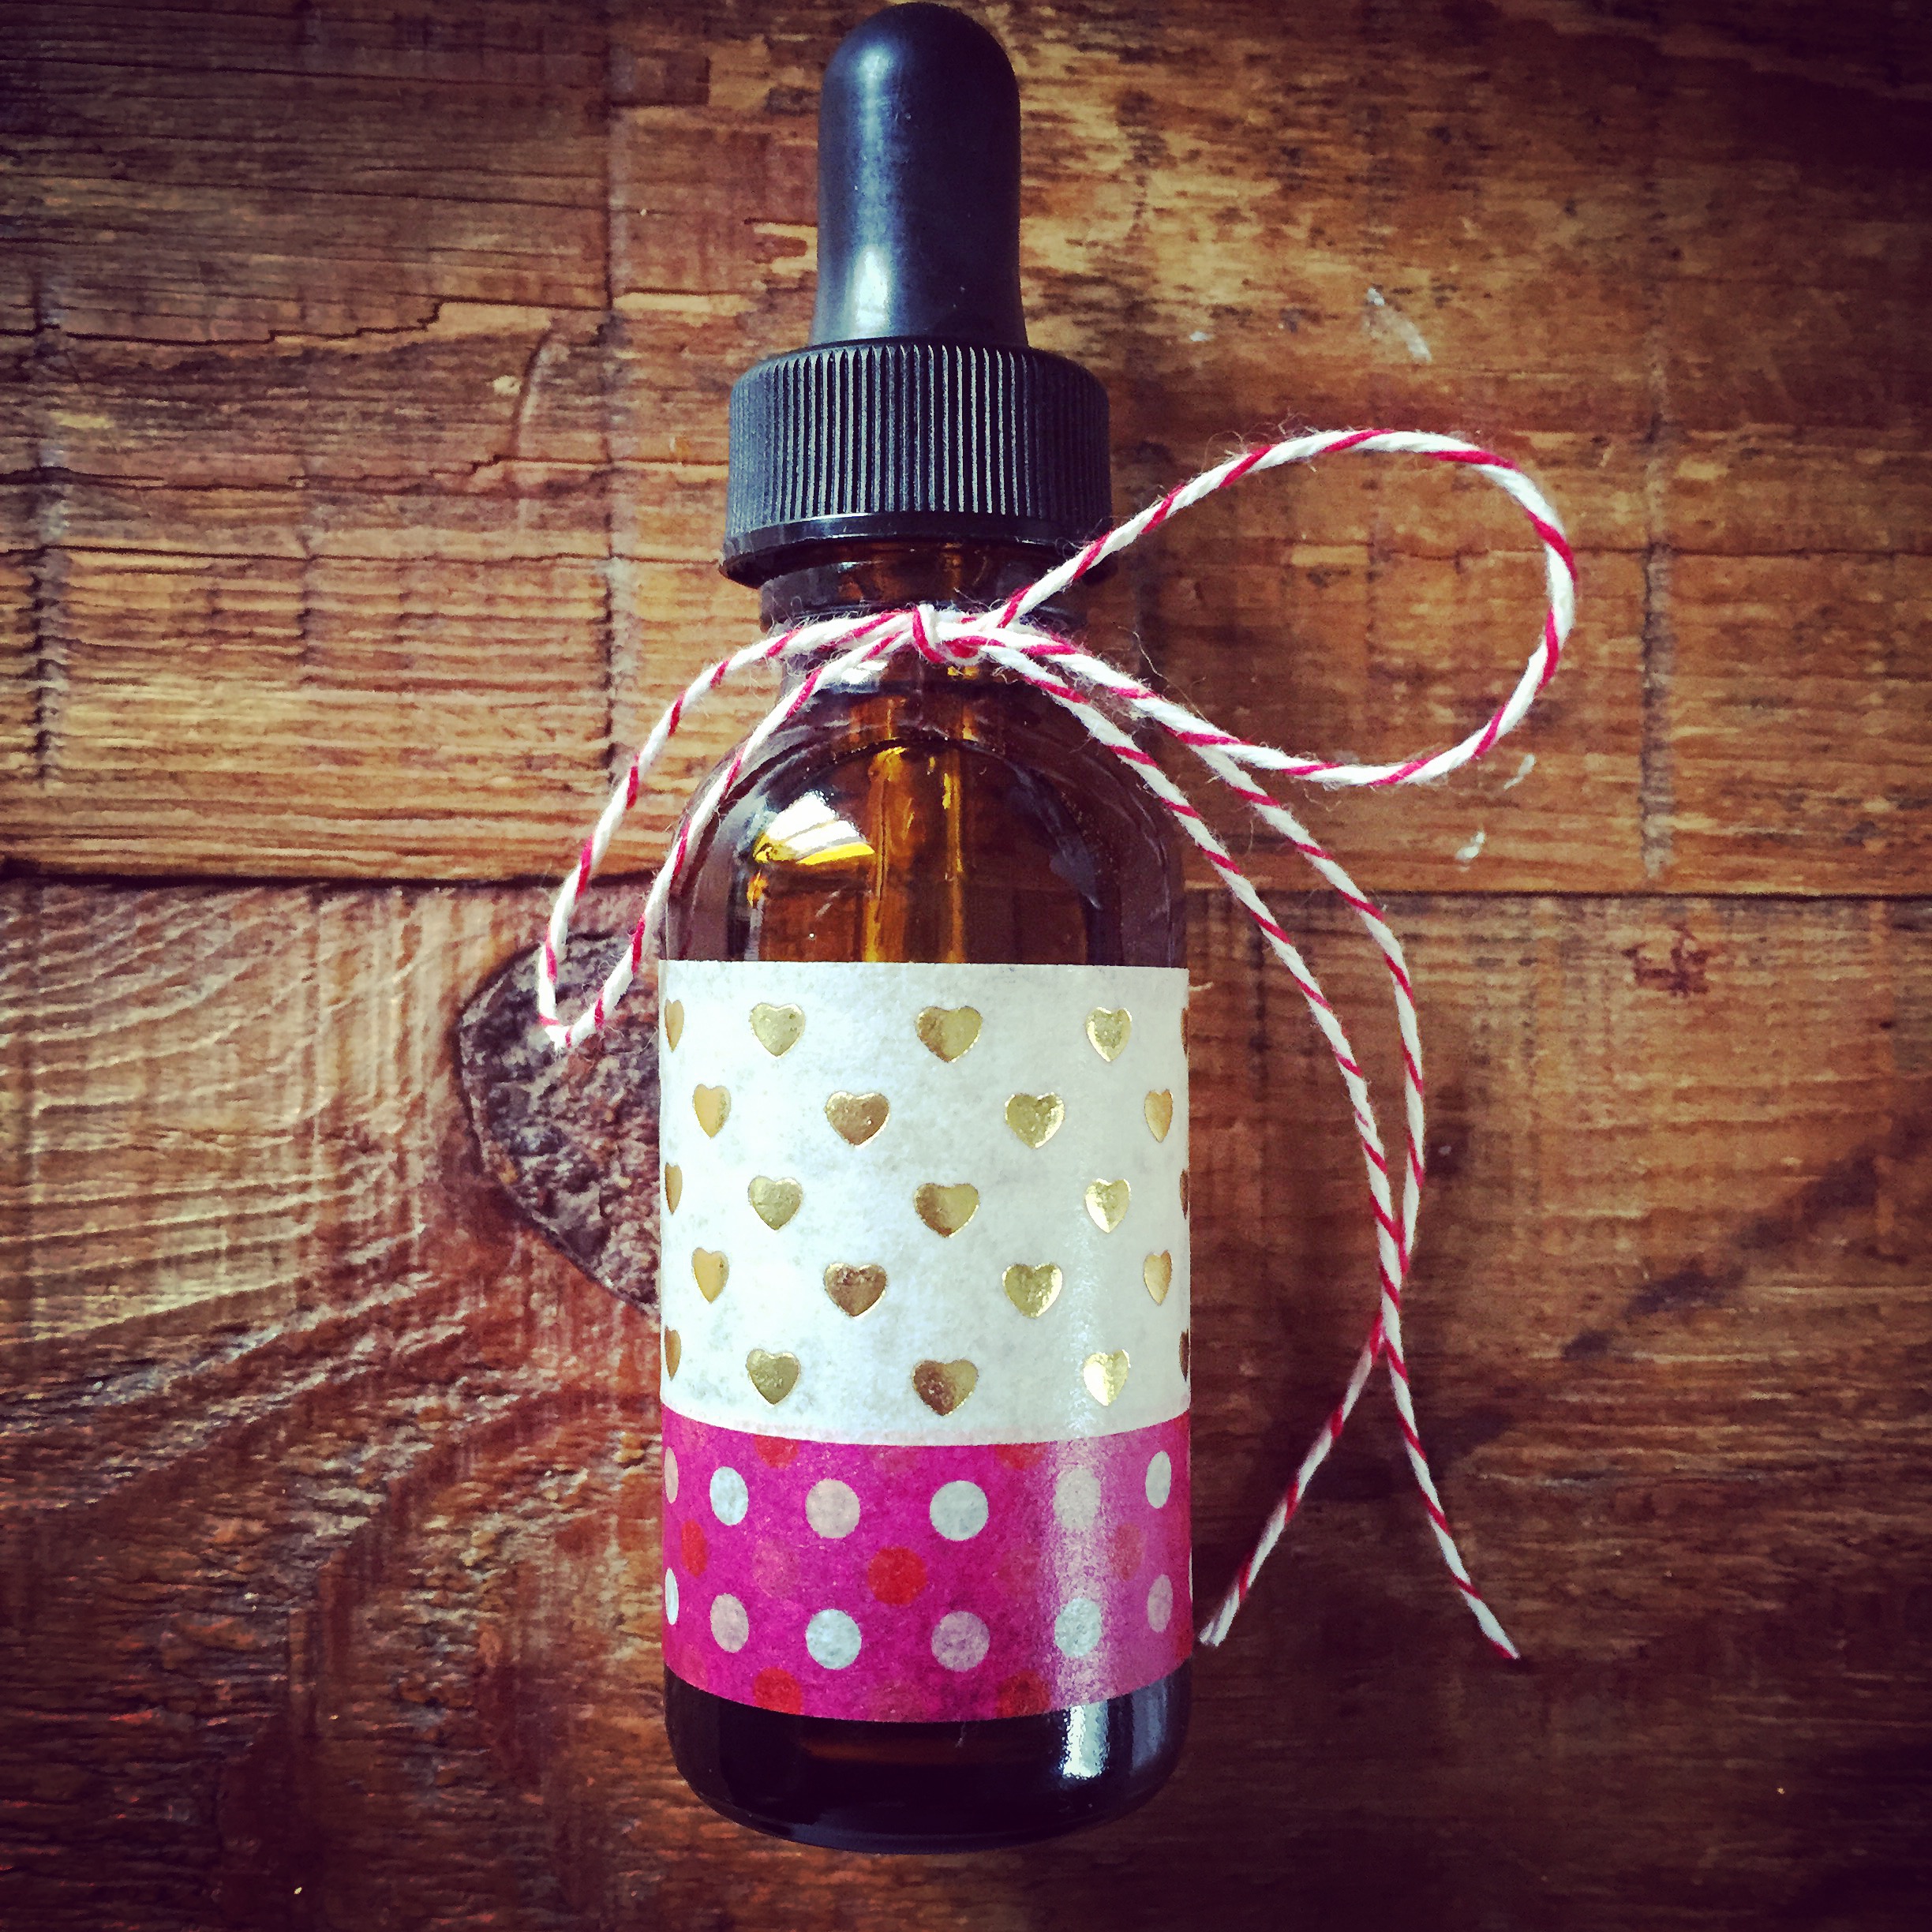
I only use the Young Living Vitality oils (the ones with the white label) since they have FDA GRAS status (generally regarded as safe) and are safe to ingest. In fact, Young Living made it super easy for you to know how to use them and even included directions in the label: add a drop or two to a capsule and ingest. For most of them, I just prefer to use them in foods since they're oh so delicious. Like tangerine in my Dandy Blend with coconut creamer, lime in my water, peppermint in my raw brownies. And this one, right here: 

IMG_5620.JPG

I'm writing this recipe in anticipation of a Valentine's Desserts class I'm hosting at Jus Organic in Atlantic Highlands. Be sure to check them out and definitely join us for the class this Saturday - it's going to be a winner. Details here if you are local. 

IMG_5622.JPG

So without further ado...here we go....

Macaroon base:

3 cups shredded unsweetened coconut

4 tablespoons Coconut Nectar (may replace with maple syrup)

Pinch salt

13 drops Young Living Orange Vitality Essential Oil


Chocolate Coating:

½ cup Coconut Nectar (may replace with maple syrup)

¾ cup cacao powder

⅔ cup melted coconut oil

Pinch salt

7 drops Young Living Orange Vitality Essential Oil

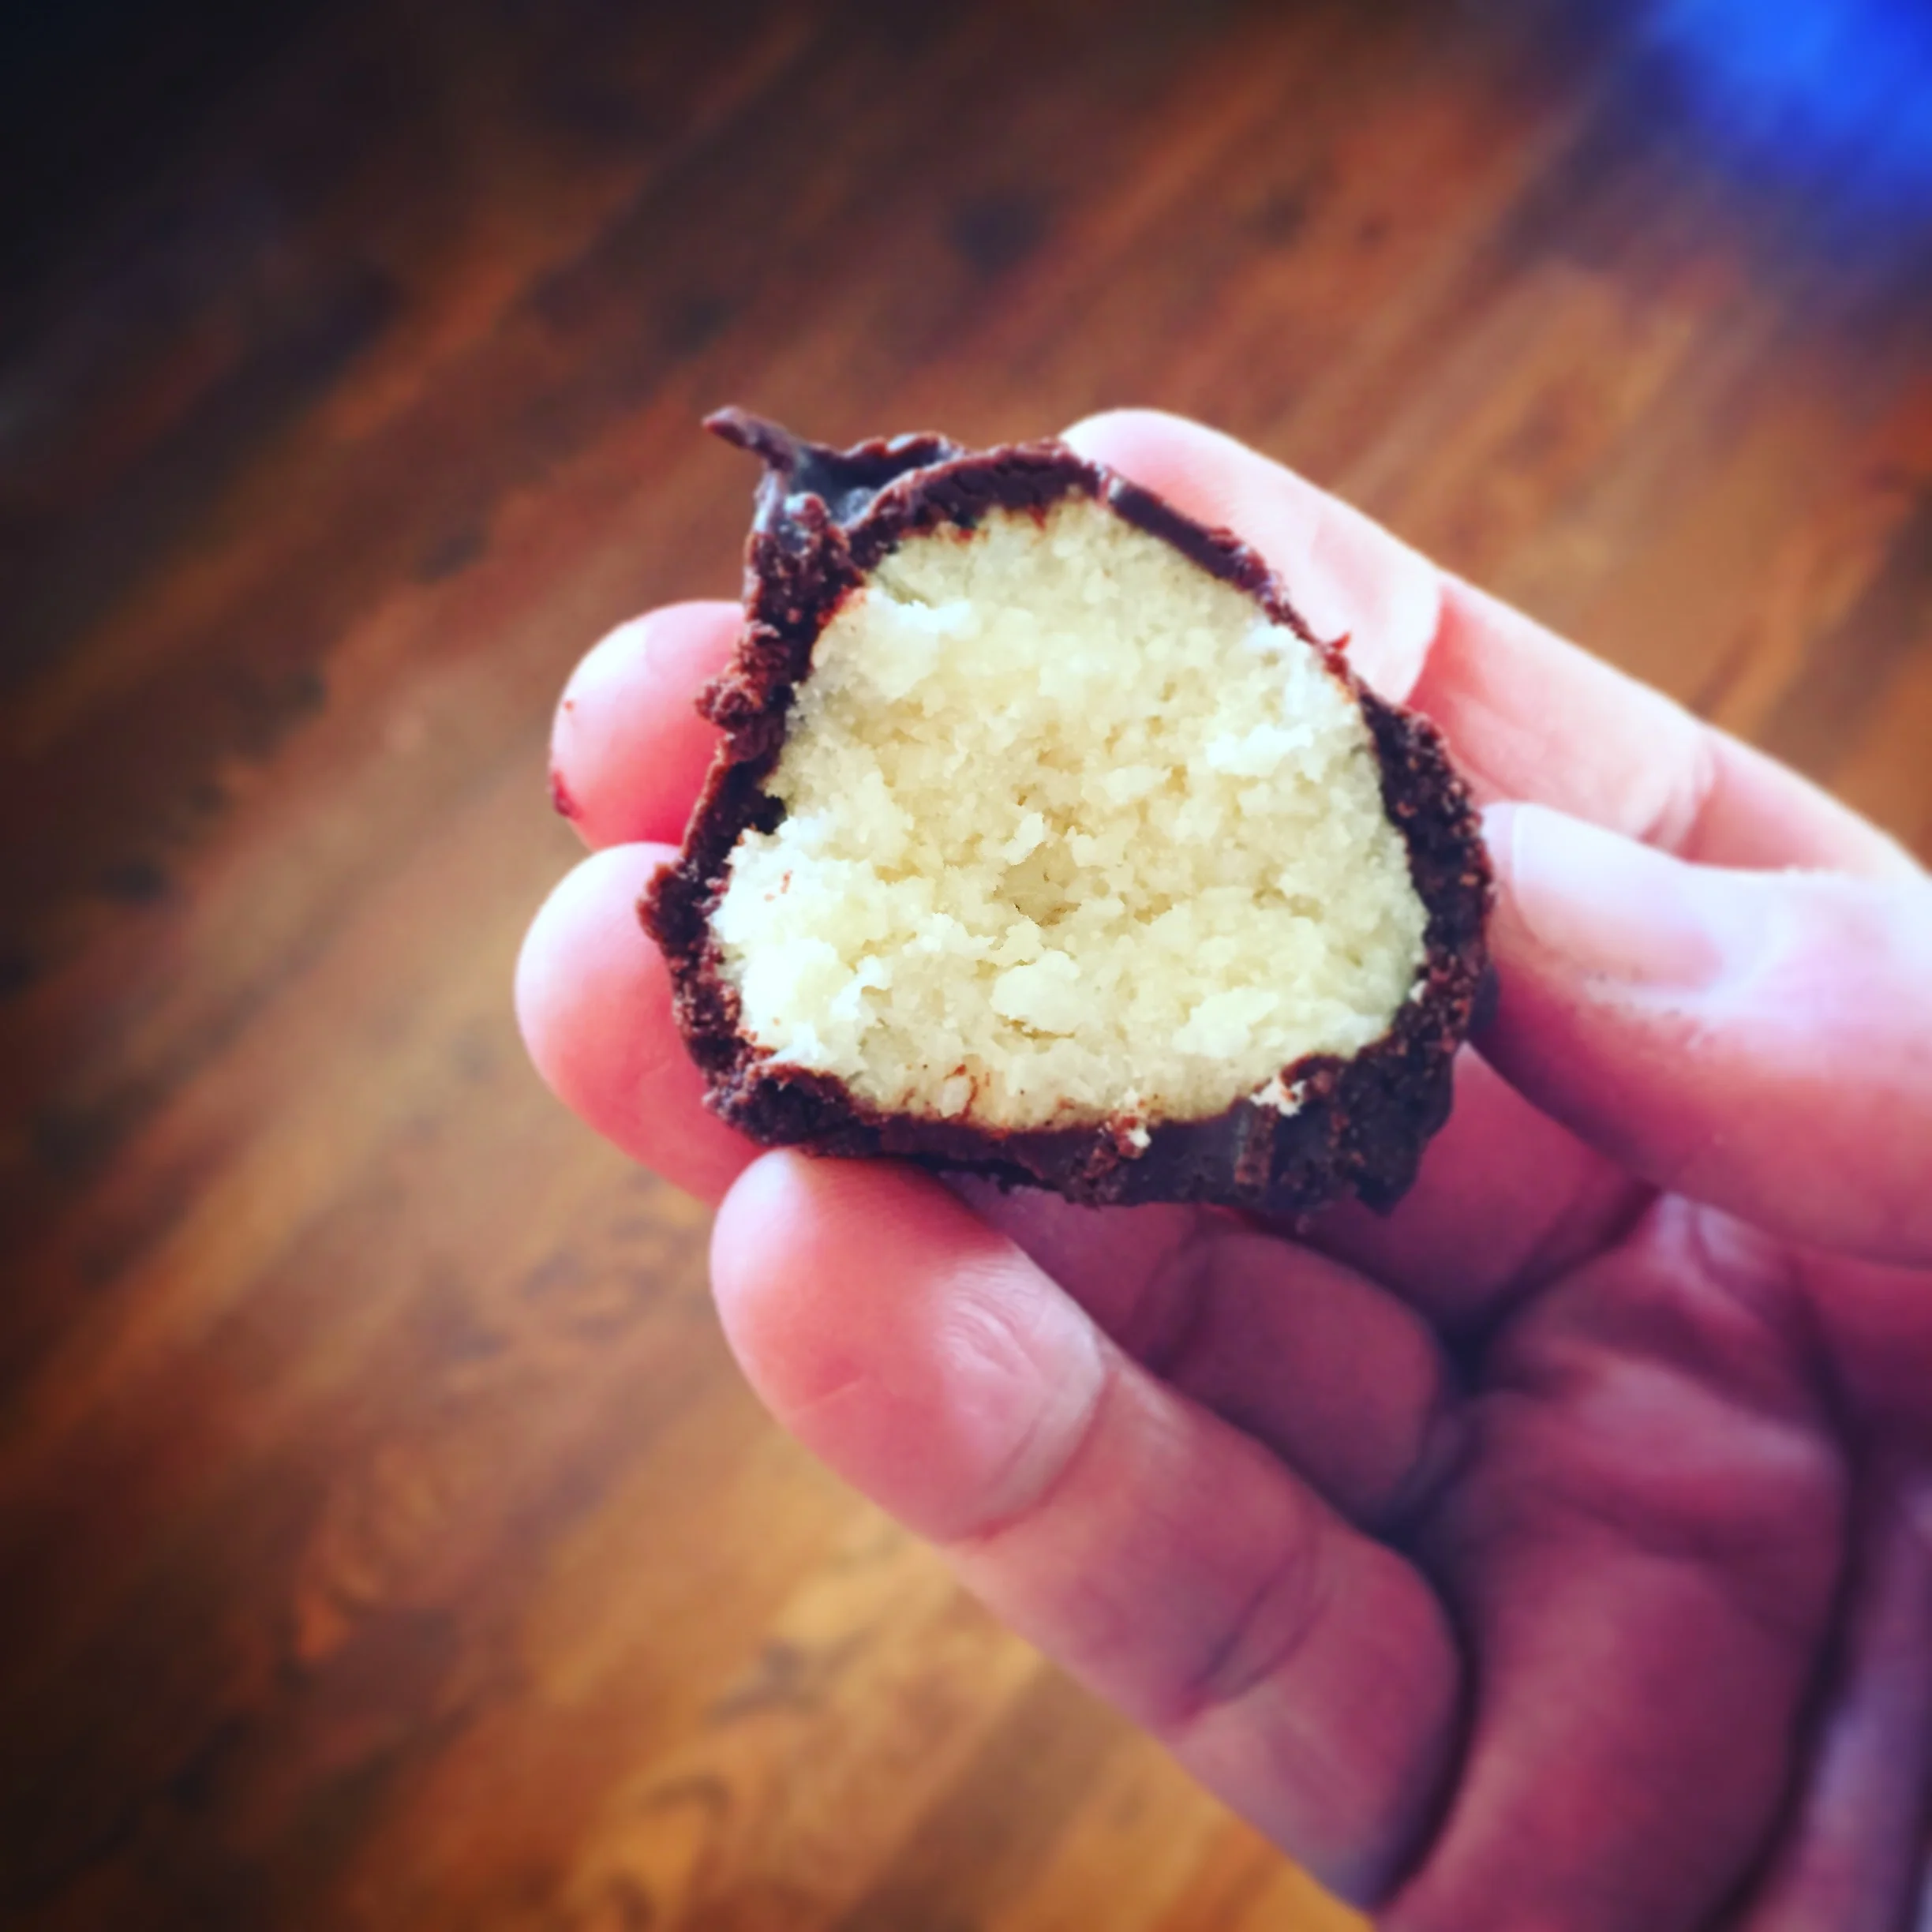
Combine the macaroon ingredients in a food processor until the mixture resembles couscous and stays pinched between fingers. Using a spoon or a mini scoop, create 1 tablespoon-full macaroon “balls”. Refrigerate for about an hour.

After they are well chilled, combine the chocolate coating ingredients in a high speed blender. The longer this sits, the more it wants to thicken, so work fast. Coat each macaroon with the chocolate coating, and set them aside. Refrigerate another hour so they solidify even more. Serve cold, with some orange shavings on top. I bet you can’t eat just one! The bowl is fun to clean too :)

IMG_5619.JPG


Glorious Lavender Peppermint Lip Balm

IMG_6854.JPG

We're getting all DIY over here for so many reasons, including that it's fun, cheaper than the alternative and a GREAT way to get creative with your hands and mind. I'm all for all of the above.

This lip balm is also super easy to make and makes a LOT to share with friends and family, so I tend to make them around the holidays and birthdays....

Of course you know this, but when you're using and making products for your body and skin, please only use the very best. And know that not all essential oils are created equal. Especially if you're trying to go chemical free, you may not know that store-bought essential oils are not always reliable and in fact contain chemicals themselves. Well, that's a conundrum. If you ever have any questions on where you can get your oils, do reach out and I'll give you the inside scoop!

So without further ado...

Recipe:

2 Tablespoons Coconut oil

2 Tablespoons Beeswax

2 Tablespoons Sweet Almond Oil

Melt the above in a double boiler, then set aside and add:

3 drops Young Living Lavender Essential Oil

3 drops Young Living Peppermint Essential Oil

Pour into lip balm tubes (I love to use tubes that come with a holder ~ like this one ~ since they sit up straight and cause less mess).  Let sit at least 30 minutes to harden.

Just a couple of notes:

1. You can easily double or half this recipe, as needed. 

2. I bought some cute labels such as these, on Amazon, but I'm sure you can find loads of other ones too. 

Enjoy and pucker up!

IMG_6853.JPG

Winter Hands Lavender Vanilla Sugar Scrub

IMG_4488.JPG

I'll confess - I have dry hands in the winter. Um, who doesn't? And if you're a normal human being, you probably do too. It might be the gardener in me, the pianist who just plays and plays and plays (they get a beating!), or it may be that I dislike using gloves when I wash dishes (I know, I know, don't judge). But for so many reasons, when the heat comes on in the fall and winter, my hands shrivel up and it's so so important to take good care of them ~ meaning, when we age, we mostly show it on our face and our hands. So it's important to take good care of them, just as much as they take good care of us and others. It's a good idea to use humidifiers in the winter months to hydrate the air around you, too. But overall, I dislike general moisturizers since my skin is sensitive, and I do very well by these two recipes.

I'm sure there are 1000 sugar scrub recipes out there, all of which are worth of a post, but these two are just my own personal favorites. You can certainly use these as templates and add in your own favorite oil combos, change up the oil (sweet almond and jojoba are great oils also), add in dried lavender leaves, poppy seeds for extra exfoliant properties ~ most of all, have fun, and play around with them. But these two recipes, I've found, are quick, easy, and just luxurious for the hands. Enjoy! And if you do end up making them, let me know how they turn out and hashtag #littlebitesofjoy!

Recipe:

3/4 cups raw sugar

Enough unrefined pure olive oil for desired consistency (think 1/2 - 3/4 cup or so)

10 drops Young Living Lavender Essential Oil

1 Tablespoon vanilla extract

Mix well and bottle it up in your favorite glass container. I love keeping this by the sink and in the bathroom for after washing the hands. Take about one teaspoon and massage your hands well (but not too hard), and give them some love. Rinse under warm water, and dry well. You'll find that our hands are silky smooth and well nourished! 

IMG_4454.JPG

Alternate recipe: 

Instead of the vanilla extract, try adding in 10 drops Young Living Lemon essential oil. The result is a gorgeous lavender/lemon sugar scrub. 

If you are interested in where I get my oils, please check out my Essential Oils For Bliss site here.  See you on the other side! 

IMG_4489.JPG

Soothing Tamanu Skin Gel

I've absolutely been loving making my own DIY recipes.... mostly, it's calming to know that I'm using things on my body and in the home that are non-toxic and free from chemicals ~ that has so many positive impacts on pretty much everything in our lives, it's a no-brainer. But the best part is that it's fun, you get to play, relax, unwind, and make something that smells and feels absolutely incredible on the skin! This gel is exactly that. 

This gel is especially good for sun-kissed skin ~ it’s gently moisturizing and cooling, after all of your summer activities. It’s also a good gel to transition into fall with since it’s not too greasy, but gives you a really nice moisturizing effect for the in-between season of September.

Of course, I don't need to say that you really need to use the best oils possible, if you’re going to put them on your skin. A lot of store-bought oils say on the bottle that they’re not for topical use, so do your research and seek out the very best for this recipe.

Tamanu oil, if you ever get a chance to play with it, is this gorgeous green emerald color (which ends up giving this gel a greenish tint ~ I love it). If you don't have Tamanu, feel free to use any skin-safe oil, like sweet almond, jojoba, rosehip, etc. 


AND NOW FOR THE RECIPE.....

1/2 cup aloe gelly (I find mine here)

2 Tablespoons Helichrysum hydrosol (I find it here)

2 Tablespoons lavender or roman chamomile hydrosol (I find them here or here

2 tablespoons tamanu oil (I find mine here)

3 drops Roman or German chamomile essential oil, 7-10 drops lavender essential oil, 2 drops frankincense essential oil (found here)

Stir ingredients together with a spoon until the mixture turns cloudy and smooth ~ it's quite interesting to witness, so pay special attention! Use on your skin to create a nourishing, spa-like effect. It's so lovely, thick but light, and doesn't leave your skin sticky at all. For longest shelf life, store in the fridge.Enjoy! 

This recipe is inspired by my education at School for Aromatic Studies. If you are interested in any of their aromatherapy/essential oils programs, please check them out here! 


DIY Peppermint & Thieves Mouthwash

IMG_7751.JPG

Hello, folks! I wanted to share a recipe that I've come to LOVE to make on my own, using this fancy dressing bottle (glass). And it's so easy that you too can make it. 

Here are some reasons why I love DIY:

1. It's a creative outlet. By making something ourselves, it helps us slow down and use our senses to create something we truly love.

2. It saves some cash: as you'll see by the ingredients here, you can create chemical-free mouthwash that tastes great with inexpensive ingredients. In fact, with just the peppermint and thieves oils, you can have almost unlimited mouthwash for the next year. 

3. It saves resources and the environment: every time you use mouthwash and recycle the bottle, there's still energy that goes into recycling....if you just make your own DIY using glass containers, you also give a little back to mama Earth, which is always a good thing. 

4. It saves you a trip to the store! And when do you run out of mouthwash? If you're like me, it's when you're brushing your teeth at night and you realize you're low. So I've actually made this at 11:00 at night, in under a minute. That saves me time, driving, and money. 

5. Best part, it's chemical free! Even the mouthwashes out there that are natural and pure have a bunch of ingredients I still can't pronounce. I'm not saying they're not safe or even effective, as many of them are. I just like to know exactly what's in there, since it gives me peace of mind. 

Note: please do not use store bought oils for this recipe (or any recipe) ~ many of them are fake, impure, or even hazardous (they often say do not put on skin, so you may not want to ingest them). If you have questions about oils or where to get them, please reach out and I'd be happy to guide you. 

IMG_7750.JPG

Ready, set, go!

Ingredients:

Glass container (I just washed out a salad dressing bottle)

15 drops Young Living Peppermint Essential Oil

8-10 drops Young Living Thieves Essential Oil (try it first, I went up to 15 and it was spicy!)

1/2 tsp salt (may omit, since it tastes a little funny but it's so healthy for your mouth and gums!)

1 tsp baking soda

Combine the ingredients together in your bottle. Fill up with distilled or purified water. Label, and you're done!


DIY Outdoors Spray

IMG_7179.JPG

I absolutely love the outdoors ~ gardening, hiking, going to the beach, reading in the grass, playing frisbee....breathing in fresh air is the best medicine for me. However, I'm finding that sometimes it's not always totally pleasant, depending on where you go, and depending on how many outdoor pests follow you along for the ride.

I wanted to share a DIY Outdoors Spray that not only smells amazing, it's also a safe, non-toxic, natural barrier against such situations. I hope you love it as much as I do! I tend to spray it on my shoes, ankles, wrists, neck, and any other exposed skin. Plus it has a little peppermint in there for a little cooling sensation, which is great in super hot weather. Hope you enjoy!

1/2 cup witch hazel (original or other scents are fine ~ I used Lavender, see below)

1/2 cup purified water

8 drops Geranium Essential Oil

8 drops Citronella Essential Oil

5 drops Cedarwood Essential Oil

5 drops Peppermint Essential Oil

5 drops Eucalyptus Essential Oil

3 drops Lemongrass Essential Oil

1/2 tsp salt (helps the oils disperse better)

Pour into a 1-cup spray bottle and shake well before use. 

IMG_7178.JPG

Rosemary Gladstar's Perfect Cream (with Geranium and Lavender)

IMG_6468.JPG

I have to start out saying two things: 

1. Rosemary Gladstar is my hero. If she knew me, we'd be best friends. She just doesn't know that yet. 

2. Because of my deep respect for her, I cannot share with you her copyrighted recipe by giving you all of it.... Duh. That's like giving your hero's magic out for free. It doesn't work out like that in anyone's favor, karmically speaking. The way I'd honor her most is if I led you to buy her book, where not only do you get this incredible recipe, word for word, proportions, and details the way she'd have it set...but then you have an amazing encyclopedia of all of her body care recipes and more. Win, win, win, I think.  You can find it here. 

What I DID want to do was share my experience in making the cream, and to show you some minor adjustments I made to make it "mine".

So it's called, ROSEMARY'S PERFECT CREAM because, well, it IS perfect. Silky, smooth, relatively cheap to make, but it requires a few magic tricks: like patience, scoping things out, waiting, waiting some more, not being scared of loud blenders, and a little more waiting. It's also tricky because basically you're combining oils and water and they don't like to mix. I've never NOT made it in a vitamix, so I can't advise those of you who don't have one, and you do need the tamper so make sure you have that. There rest is in timing. And don't rush the process. 

Changes I've made to suit my taste, all of which will be explained below: 

Replaced coconut oil with Shea Butter

Replaced distilled water with floral waters such as hydrosols

Added in essential oils

IMG_1845.JPG

So here we go:

Part 1, you heat over a double boiler some almond oil and coconut oil ~ however, lately I've been getting into Shea butter instead of the coconut oil. I love to cut it thin and add it to the pot to melt. 

IMG_1832.JPG

Additionally, you'll add beeswax to the oils, to melt right along (again, exact amounts of each in her book). Note: I used the pellet beeswax because it was easier to measure (see pictured below), but feel free to cut into bars if you need to. 

IMG_6471.JPG

Once these ingredients become liquid, you pour the mixture into the vitamix vessel and let cool until it looks like petroleum jelly, opaque, and creamy. Don't be fooled by the top layer, dig a spatula in to make sure it's that consistency throughout. While this is cooling in the vitamix container, go to part 2.....

Part 2, she creates a blend of "waters" to be mixed in to the wax mixture above. I like to doctor it up a little bit in my own way by using hydrosols or floral waters in place of distilled water that she calls for. You'd also be adding in some aloe vera (this is the one I used), 1/2 tsp vitamin E, and I personally added the following oils for an amazing aroma:

1 drop Young Living Geranium essential oil,

5 drops Young Living Lavender essential oil,

and 5 drops Young Living Elemi essential oil (also known as "poor man's frankincense"). 

IMG_6470.JPG

THE MESSY & LOUD PART: This is where you blend in the waters to the beeswax mixture. Mind you, oils and water don't mix well, but somehow this cream works ~ almost like an emulsification. So here goes....when the beeswax mix is the right texture, start the vitamix (it will sound a bit violent, but rest easy and just work up slowly), and then slowly add in the waters mixture in a small stream (as the motor is running). Run it for about 20 seconds, using the tamper to help it along, then stop and scrape the sides down. Run it again until everything is smooth, well blended, and the color changes from yellowish to white. And you're done. 

I like to pour the whole mixture out back into my glass measuring cup so it pours into the small containers easier, as pictured....

IMG_6472.JPG

That's the gist of it, but Rosemary has some pretty awesome details and tips to make this work well, because the truth is, it doesn't ALWAYS work. Again, timing is everything. If you look at step 1, when it says make sure the beeswax mixture looks a little like petroleum jelly throughout ~ one time I didn't wait long enough, and I ruined the whole thing. 

Parting words:

1. I would like to say that for my skin type (oily, mostly), I would not put it on my face - it's too rich, so it goes best for my hands, feet, knees, elbows, and legs. But do as you'd like, as you know your skin best. 

2. I won't lie, cleaning the vitamix container is a pain in the butt. At the same time, I make this cream twice a year and that pain in the butt is totally worth it. One thing I've found is, if you remove the blade completely and scrub everything with a pasty mixture of: 1 cup baking soda combined with a few tablespoons dish soap and a sponge, you'll get it clean in under 2 minutes. Just use as little water as possible. Then spin it in the dishwasher for good luck and you'll be amazed. But if you want to wash it just with dish soap, you'll basically never get it clean. 

And most of all, have fun making it year after year!


Orange Clove Carpet Deodorizer

IMG_0673.JPG

Recently I hosted a fun DIY household cleaning products class, and we made 6 lovely recipes together with friends….one of them was this DIY Carpet Deodorizer. With just a few natural and easy to find ingredients, you can make yourself a batch to use at home in no time, without the harsh chemicals. The aromas are so refreshing and sweet! Here are the deetz:

IMG_0674.JPG

1 cup baking soda

10 drops orange essential oil

10 drops clove essential oil

8 oz glass jar plus daisy lid (I get mine here)

In a bowl, combine 1 cup baking soda and essential oils. Add to an 8 oz ball jar and use a daisy lid to shake powder on the rug or carpet. Leave on for 10 minutes, then vacuum as usual.

IMG_0667.JPG


Lavender Grapefruit Foaming Hand Soap

IMG_6406.JPG

I've always been conscientious of what we throw away, and even more importantly, what we can choose to up-cycle and use in additional ways. So if you've had some foaming hand soap dispensers laying around (or even better, if you thought you needed to buy another), then this post is for you. For under 2 minutes and for a handful of change, you can have yourself a brand new replenished bottle of foaming hand soap, and it smells terrific too.

I can't claim the template as my own recipe, and I give credit to watching this beautiful Youtube episode all about castle soap....but I did think blending lavender and grapefruit was a pretty groovy idea. 

So here's what you'll need:

1 empty foaming hand soap dispenser (reuse an old one preferably)

5 drops Lavender Young Living Essential Oil

5 drops Grapefruit Young Living Essential Oil

1/2 tsp sweet almond oil

1 tablespoon Unscented Dr. Bronners Castille Soap

IMG_6405.JPG

our the essential oils, sweet almond oil, and castle soap to the empty bottle. Fill almost all the way up with filtered water (not all the way to the top so that the pump can fit). Put the pump on, close, and shake to combine well. Label as you wish!

How easy was that? I like to fill up multiple bottles at one time so that I can do it and be done with it. Easy peasy. 


Five Essential-Oil-Infused Nourishing Hair Serum

I hosted a haircare DIY class last summer, with the idea being that our hair needs the most support in the summer ~ there’s damage from pool water, sun, etc. However, this winter I’ve come to realize that our hair needs all the help it can get, especially in winter months: think hat head, and forced hot air, and extra hot showers which help you warm up but do a number on your hair and scalp.

While there are a lot of recipes that I use (like a shine spray and a scalp spray to tame that “hot-shower-angry-scalp!) The hair serum is something I do between washing days and I have fly-away’s. But you can use it to moisturize curls and strands in general, and even weigh down hair (just a little) that has a mind of its own. Think “bed head” that’s unruly. Unless that’s your type of thing, and if it is, more power to you!

Without further ado, I think this receipt is just as relevant in March as it was last August, and here it is….

IMG_9668.JPG

Five Essential-Oil-Infused Nourishing Hair Serum

15 ml dropper bottle (I used these)

Grapeseed Oil or Jojoba Oil

40 drops Jamaican Black Castor Oil (I used this one)

10 drops each: Copaiba, Tea Tree, Rosemary, Lavender, and Cedarwood Essential Oils


Combine all essential oils into the bottle and swirl to blend. Add 40 drops of Jamaican Black Castor oil and top off with the Grapeseed (for straight or fine hair) or Jojoba oil (for coarse or wavy/curly hair). Swirl bottle to blend. Use 2-5 drops. Rub hands together to warm up the oil and apply to the ends of hair first, working your way up to mid-shaft. Do not apply to roots or top of head. Use the small leftovers to gently pat down flyaway hairs. (Recipe adapted from Jen O’Sullivan. Her books can be found here).

Herbed Aromatherapy Shower Tablets

IMG_8823.JPG

These days, when the fall weather brings its chill, I love to stay indoors and make things out of really good ingredients, to treat the body well. It’s a #hygge thing for sure, cozy and joyful. It’s also coming up to the holidays (sooner than we think!) so by brain is always churning, looking for things to make as gifts. As a simple person, I know that gifts can add up and especially if they’re unwanted or re-gifted again (I mean, how many scarves do we really need?), I want to make sure I give something that’s purposeful and possibly after used, there’s nothing to “store" around. These are wonderful in that way. They’re healthy for the environments since they’re non-toxic, they smell delicious, are easy to make, are a meaningful hand-made gift, and leave no residue behind of boxes, or things they have to deal with after they’re used. Win~win~win~win…..

IMG_8825.JPG

Of course, it’s a given that you want to use really high quality oils (which is why I use Young Living). After all, if you’re chasing the non-toxic life, you may as well buy non-toxic oils, right? That makes sense. But it helps to say it out loud, to remind ourselves that a lot of the oils bought out there are in fact not so non-toxic. It’s a sad situation for sure.

That said, the recipe is pretty simple….with a few adjustments from my own experience, detailed in the description below. Enjoy the process and enjoy the aromatherapy experience after!

Aromatherapy Shower Tablets: makes about 12 mini hearts

1 cup baking soda

1 tablespoon arrowroot flour

⅓ cup water

2 drops essential oils (I like Raven and Juniper) 

You’ll need a silicone mold, sort of like this one

Combine the baking soda and arrowroot, making sure there aren’t any lumps. Add in the water and make a thick paste. If it’s difficult to stir, which it often is, you can add a tsp of water or two to make it easier. Pour into a silicone mold, and let sit overnight. I’ve found that it helps to add an extra 8 hours to that as well (aim for about 1 and 1/2 days or so) I’ve also found that some water settles on the top, almost an hour after you’ve set them: if that’s the case, let it pour off gently as you tip the mold towards the side, making sure none of the actual white paste gets out. After they set, add in your essential oils to the top of them, two drops to each tablet (use the blend I suggested above or make your own!).

You can also try: Rosemary & Lemon, Peppermint & Lavender, Eucalyptus and Peppermint, Geranium and Lavender, etc.

IMG_8824.JPG

To use: Drop one or two tablets in your tub or shower away from the stream of water. Sprinkle a bit of water on the tablet to activate it. Breathe in the aromatherapy. Store in a cool, dry place. Use within the week, or store in an air-tight container and use within 6 months. You can also make this into a powder by eliminating the water: combing ingredients together, pour into a lidded glass jar, and sprinkle in the shower.

*Raven is a Young Living Blend that contains Ravintsara, peppermint, eucalyptus, lemon, and wintergreen.
Recipe adapted from Jules Aron’s Fresh And Pure book.

Calendula and Oat Botanical Soap

IMG_8749.JPG

At our most recent Make & Take, we used botanicals such as calendula and essential oils to create our own spa-experience DIY products. One of them was this amazing Calendula and Oat Soap. It’s super easy to make, hydrating and moisturizing the skin, and great for any part of your body, from face to toes. Gentle enough for most skin, and fun to make to give away as gifts, too! I much prefer making my own gifts to give away, vs. buying them, and these are especially purposeful since we love our shower and bath time!

I found that Calendula is not only amazing for the skin but also pretty to look at, but in a pinch you can feel free to use rose petals too. The oat is gluten free and acts as a nice exfoliant for the skin. All in all, a wonderful afternoon activity that will leave you with enough soap to last you for months!

Grapeseed oil or a neutral oil for silicone molds

Silicone molds (these would work)

16oz shaved/grated glycerin soap base (I got mine here)

¼  each organic calendula petals/flowers and rolled oats

8 drops Elemi Essential Oil

4 drops Palmarosa essential Oil

Grease your silicone molds with the oil. Grate your soap (or you can cut them super fine too, if you’re faster with a knife) and pour in heat-safe bowl, over a pan of simmering water (or double boiler, which is easier). Let the soap melt, and remove the heat. Add in the essential oils, and stir to prevent bubbles from forming. Arrange your herbs in the bottom of the molds. For these, I put a pinch of Calendula on the bottom of one, and a pinch of rolled oats in another) and pour the soap over them. Allow to cool and set for a few hours. Keep in a cool, dry place. For maximum freshness, use within 6 months. Enjoy!

This recipe is an adaptation of a recipe found in the book, Fresh And Pure, by Jules Aron.


"Love Yo Face" Serum

IMG_5685.JPG

Last year, I had a Make & Take with my fellow team members and we made a face serum to LIVE for ~ this year, my schedule got a bit busy, so I wasn't able to host another Make & Take but I DID want to share with you a similar recipe that might put a little Valentine's pep in your stop and help you LOVE YO FACE. 

Also, I should say, that title does not belong to me - huge props to my sweet friend Jess who thought of it and is pure genius. All royalties go to her, of course.

The recipe is very forgiving and fun, so be sure to play. Add a little more of this, less of that. You get the gist. Also, it goes without saying that all of these Essential Oils are the Young Living brand, and I stand behind them 100%! They're my favorite and my life has changed in incredible ways since using them. To find out more, check out my other website here to get the inside scoop! 

Here we go:

1 oz bottle of Argan Oil (or your preferred carrier oil like jojoba, grapeseed, reship, etc.) ~ make sure it has just a little bit of headspace (meaning, it's not completely full) to allow the displacement of the oils below....

3 drops Lavender Essential Oil

4 drops Frankincense Essential Oil

3 drops Manuka Essential Oil

2 drops Geranium Essential Oil

4 drops Copaiba Essential Oil

Add the drops to your bottle of Argan Oil and shake well. Please note, this oil shouldn't be rubbed into the skin, but rather pat - the application should be gentle. 

IMG_5687.JPG

OOLA for Women, Book Review

The following is a review, based on my own personal experience with the book "Oola For Women". I hope you enjoy!

My first experience with OOLA was about a year ago when I read the first and original OOLA book (found here) ~ it blew me away, honestly, and spoke to me in so many familiar ways. I've always believed in living a balanced life, but nobody put it in such easy, simple to understand steps than the OOLA guys, Dave Braun and Troy Amdahl..... I knew I was hooked.....I quickly set to understand more deeply the areas of my life that I was neglecting, and how I can awaken them. 

This was right up my alley, especially since so much of my life is devoted to self-improvement...it's something I'm working on daily. How to be kinder, how to understand better, listen more, shut up more, or speak my truth...be a better friend, mother, spouse, daughter, sister. How to find ways to have a bigger, more positive impact in my work with others. The OOLA book was life-changing, from this perspective, since it was all in one place, ready for me to follow along and make the improvements I was looking for...

IMG_3658.JPG

The OOLA guys partnered with Young Living to create the Infuse 7 oils kit, which contains an oil for all 7 areas of our OOLA life: Fitness, Finance, Family, Field, Faith, Friends and Fun. The brain has always fascinated me, and I love how I can anchor a feeling or emotion with a scent ~ so these oils were a brilliant addition to my collection. Every time I meditated or worked on my "faith", for example, I'd use my "faith" oil aromatically and anchor that feeling into my memory and emotions. It was such a helpful tool for me to support me in my own personal work to bring balance back into my life. These tools were life-changing. 

IMG_3656.JPG

Then came OOLA for women - I didn't think it could get any better, but it did! 

IMG_2168.JPG

I found myself sitting on the couch with a cup of tea, using these incredible oils, spending my "Miracle Morning" reading this book, and I loved every minute of it....not only did it cement the idea of finding balance in life and how critical that is, but I loved reading and learning about all the women featured in the book....their triumphs, their struggles, how they overcame aspects of their lives that seemed unsurmountable...I was cheering them on in the early hours of the morning when I carved out my reading time, my learning time, my growing time....I was there with them, every step of the way, and it inspired me to grow right along with them. The book reminded me that I had the power to overcome the challenges of my life, find balance, find joy, find peace with the past and find faith in the future, and find my OOLA life..... and it was ALL up to me. 

The book is divided into 5 sections ~ they make it effortless to flow through each section, and adopting tips and steps to finding your balance, and finding your own OOLA life. 

Section 1 introduces you to what Oola is - basically living in a state of awesomeness.

Section 2 goes through the 7 F's of Oola - Fitness, Finance, Family, Field, Faith, Friends and Fun.

Section 3 talks about Oolablockers that keep us from living that OOLA life, and reaching our dreams: fear, guilt, anger, self-sabotage, laziness, envy, and focus.

Section 4 goes through what they call the Oolaccelerators ~ those aspects that propel us closer to the OOLA life we desire, such as  gratitude, love, discipline, integrity, passion, humility and wisdom.

Section 5 tells all about the Oolawheel, Oolaplan and Oolapath ~ tools to help us unlock our OOLA life. 

I can't say enough about this book. I think everyone needs it....and if you think you DON'T need it, read it and you'll see how much you do! In fact, if any of you are searching for growth, balance, are curious, or just want to make your life infinitely better and happier, you'll find here.....

You can find it at: 

Barnes & Noble

Amazon

Peace, love, and my hope that you dream big and find your OOLA life,

Andreea

ps. If you are interested in the Infused Collection oils, please reach out to me...they've been such an important tool in helping me grow and live my OOLA life, every day. You can find out more by clicking here and searching "Infused". 

Currant & Tangerine Popsicles

Original post written: 2014

Um, there are no words to describe…I can’t even.

I had the best time this past spring taking an Ayurvedic Cooking course at the Natural Epicurean, and I’ve been implementing what I’ve learned about spices and flavor profiles into my current raw “uncooking”. This is one of those recipes that is so flipping good, there are no words. It’s amazing what happens (whether cooked or uncooked) when you combine whole ingredients with aromatic Indian spices. Flavors bloom.

This blog is pretty short since, well, I’m sitting here eating this gorgeous popsicle trying to come close to what it tastes like (and I have to say, I'm rather distracted), but I think you have to try it to believe me. If you can imagine creamy tangerine sorbet with a hint of anise and cinnamon, then you’re close, but not quite there. A pinch of cardamom for floral and spicy aroma, and tropical coconut for sweetness and freshness. Combined into one, this was an experiment, but one that I know I will repeat many times this summer. 

This is currant season, if you haven’t seen them yet! They come in beautiful reds, blacks and whites, although I used the reds for this recipe. When currants come into season, you have to take full advantage, leap high into the ground with glee, and get as many as you can. They are delicious, eaten raw, like candy, but in this case, we decided to take them over the top. To boot, these are sugar free, low-glycemic, so if you are struggling with insulin resistance, feel free to make these and consider them a delicious treat without the worry.  

It depends on how big your popsicle molds are, but for us, this recipe made about 4. Sad, since I already want more.

About 2 cups currants, blended, strained to leave you about ¾ cup liquid (Discard pulp)

1 cup canned coconut milk (include as much of the solid fat as you can, then top the rest with the remaining coconut liquid)

¼ tsp each: anise, cinnamon, cardamom powders

2 droppers full of stevia

Pinch salt

3 drops Young-Living brand Tangerine Vitality essential oil** 


**This recipe uses only Young Living brand Tangerine Vitality essential oils. Please do not ingest any other oils.  If you don't have this oil, please reach out (I'm happy to answer any questions) or just use 1 tablespoon organic tangerine/orange zest. 


Combine all ingredients in a blender until smooth, and pour out into molds. Freeze over night. Enjoy!

Premium Starter Kit ~ 14-day challenge!

Welcome to your oily journey! You're in for some fun and inspiration...now that you've received your kit, many people are unsure where to start, so I created this fun 14-day challenge to take you through all of the oils and learn, one step at a time! Check them out below and enjoy! 

Also, in case you forgot, here's another slide to remind you the difference between the white vitality label and the regular label. I know it's showcasing lemon oil, but it still stands true for ALL of the oils - white label is Vitality (may be taken internally), regular label is topical/aromatic. In a pinch, if you're confused, all you need to do is peel the label back and it will tell you the safest way to use it.

Oil #1 for Day #1! Peppermint is one of my top DAILY oils! I love diluting one drop with a carrier oil of your choice (sweet almond oil, jojoba, etc) and putting it on the back of my neck to help me cool down. I also love adding the vitality peppermint oil to peppermint brownies, diffusing it for a clean, fresh scent, and inhaling to support my breathing. It's very uplifting too! A nice oil to diffuser when you're working out at home to put a pep in your step! What are your favorite ways to use it?

Oil #2 for Day #2: Lavender! I love Lavender for so many uses. I love rubbing some on my feet at night for a better sleep. I also love making sleepy time roll ons for friends with lavender, cedar wood and orange. The vitality Lavender can also be used internally and I love making lavender lemonade or if you're into baking, think lavender shortbread cookies? It also is probably the most purchased YL essential oil (for those of you who took the quiz!). It's called "the swiss army knife" of oils since it can do so many things! I also love adding it to my skincare routine. But the simplest and most fun ways to use it is simply to diffuse.....it brings such calm and comfort!

Oil #3 for Day #3: Lemon essential oil! 
Diffusing lemon is the way to go if you're looking for a clean, fresh, uplifting aroma (smells divine!). I love keeping lemon vitality by the kitchen sink for adding to the water I drink throughout the day. Also, did you know you can replace lemon juice or zest with the lemon vitality oil? Think lemon bars! Or raw vegan lemon goji energy truffles! Add a couple of drops to your salad dressing too. Plus it's great for cleaning. I love adding a few drops to the washing machine. One of my favorite diffuser blends (you have to try it!) is lavender, lemon, and peppermint (2-3 drops each)...As a side note: lemon essential oil can also get rid of that tricky sticker glue! SO many uses. What's your favorite?

Oil #4 for Day #4! The fact that Young Living put frankincense in the kit speaks volumes - this is such an incredible essential oil! I don't even know where to start! First, I simply love using it to meditate or ground me during yoga with its relaxing aroma. I put it in all things DIY for the face and skin, and also love making my own roller ball bottles along with lavender and orange (this combo is super calming so I love putting it on the bottom of my feet before bed), or in a relaxing pillow spray (1 ounce bottle, add some drops and then fill up with distilled water). For spiritual purposes, it's my #1 - when I'm feeling in a funk, or need to carry my meditation through the day with me, I love inhaling it and it instantly brings me back to my practice. I could go on and on and on! Frankincense and I are inseparable! How do you use it?

Oil #5 for Day #5! Whenever I open up a bottle of Copaiba, someone in a class ultimately says they've never heard of it and my response is "it's a secret gem of an oil", since it truly it! It's almost as versatile and useful as lavender, but not as well known. It's distilled from a resin (tree is grown in Brazil) and is in the same family as Myrrh and Frankincense, so the qualities are quite similar. I love adding it to my beauty face serums, skin salves or massage oils, and I'm finding out, it's the secret oil in blends that end up being my favorite blends ~ like Stress Away and Breathe Again roll on! I also love adding a drop of Copaiba Vitality to a mug of warm almond milk and a few drops of stevia for a nourishing night-time drink. How do you love it?

Oil #6 for Day #6! Digize for the win, when you want to support your digestion! I carry this with me when I travel, and love rubbing it into my belly or on the bottoms of my feet. I also love using it with peppermint, for digestive support, and together they make a wonderful pair! I'm spoiled at home, where I get to eat food that I'm used to, but in visiting family, eating out, sometimes tummy troubles are inevitable. I love having Digize vitality at a moment's reach for any digestive support I may be seeking!

Oil #7 for Day #7 ~ Thieves! This for me was the gateway oil (while for the rest of the world it's probably lavender!) As some of you know, I'm also a music teacher and many years ago, I was looking for immune support since all of my kiddos were coming in with all sorts of bugs! A friend of mine had Thieves hand spray (which I highly recommend) and I started to spray my piano with some of it. And here we are, years later. I still use it every single day, but now I use the diluted concentrate in a spray bottle (and I carry the hand spray in my purse). LIFE CHANGER! All kinds of wonderful immune support plus it smells divine - I love diffusing it, adding it to my DIY, and even making "Coke" with the Thieves vitality oil using: seltzer, 2 drops Thieves vitality oil, 2 drops tangerine vitality, and some maple syrup or stevia (it's AWEsome good!)...but I have to mention the Thieves cleaner since Thieves is a WHOLE line of amazing products, like toothpaste, mouthwash, hand spray, cleaner and so much more! Toxins out, chemicals out, health and wellness in!

Oil #8 for Day #8 - I simply LOVE this oil! RC is a blend of three types of eucalyptus and is fresh and invigorating. I love applying a little with a carrier oil to the back of my neck before and after a workout, and love making my own salve with aloe vera gel and sweet almond and a few drops RC to rub on the chest for some respiratory support. It's also my go-to when creating inhalers with organic cotton round inserts, for any type of respiratory and breathing support. 

Oil #9 for Day #9 - Panaway is always ready to soothe! I love diluting it with a carrier oil to massage my muscles after a good workout, plus it smells incredible with the wintergreen and clove! An excellent oil to carry with you to the gym!

Oil #10 for Day #10. OK, I know I say this a lot but this is one of my FAVORITE oils! It's a gorgeous, refreshing blend that contains citronella, lemongrass, rosemary and myrtle, among others. It's one of my favorite oils to add to my outdoors spray so I can enjoy the summer outdoors when I'm hiking, and soothe my skin! Also, I love adding purification to dryer balls and which both scent the laundry in amazing ways and also cut out static. No chemicals in our laundry room! And the clothes come out smelling incredible! Also a great oil to put on a cotton round and place in an air vent when traveling - sometimes hotel rooms smell icky to me, and this refreshes the room in wonderful ways! 

Oil #11 for Day #11 ~ oh, Stress Away. This one never leaves my side. It's my #1 diffuser blend to chill out, especially in the middle of the day when stress can be quite high! With vanilla and lime, it's super comforting and is also one of my favorite ways to wear "perfume"! Add it to bath salts for an incredible experience as well. I've found myself in an interesting pattern lately... when I'm sitting in the car at any point - at a red light, at the bank, picking someone up, Stress Away always comes out of my bag and I rub it on the back of my neck and wrists. Waiting becomes a pleasurable experience! 

Day 12 - Ningxia for the win! I love drinking my Ningxia serving (1-2 ounces will do it!) around 3:00 pm when my energy slumps and I crave a little something....it's also in my bag after a hike, or on road trips for some super good nutrition! 

On day 13, we learn about Essential Rewards ~ It's your prestige rewards membership in a customizable wellness box! Think Amazon meets Costco meets your cash-back credit card! I love being on ER since it's CONTINUED learning - you can't use what you don't have, right? You can choose oils to learn, past the premium starter kit, but remember YL is a wellness company. You can add toothpaste, mouthwash, chemical-free make up, soap, shampoo, lotion, doggie treats, goji bars, Ningxia, anything you can think of that promotes the healthy lifestyle that we're all reaching for! But instead of going to a store (and not being sure what you're getting), you buy from the best AND you get some serious perks while doing so: Free bundles at different payment tiers, chosen monthly, Discounted shipping, You earn points back on all of your YL purchases (10% back for the first 3 months, 20% back for months 4-24, 25% back for 25+ months), Free gifts at months 3, 6, 9, an Exclusive “Loyalty” oil at month 12 (not for purchase otherwise). All this from buying things we already need. Your local pharmacy doesn't give you all of these perks! So it's not about purchasing more, it's about making your normal purchases with Young Living instead! One last thing - those percentages back are no joke! I made a purchase last month for $150 that was completely free, paid for the credit I accrued over the past few months. How awesome is that? 

Thank you so much for joining us on this journey! This is day 14, and by now, you are much more educated on all of the wondrous oils you are holding in your hands! But this is just the beginning. Feel free to reach out to me with any questions...I'm always here to support you!